

How To Remove A Bathtub Video
How to Demo a Bathroom From Top to Bottom
We'll tell you how to get your bathroom down to four walls and then y'all tin build it dorsum upwardly the way you desire.
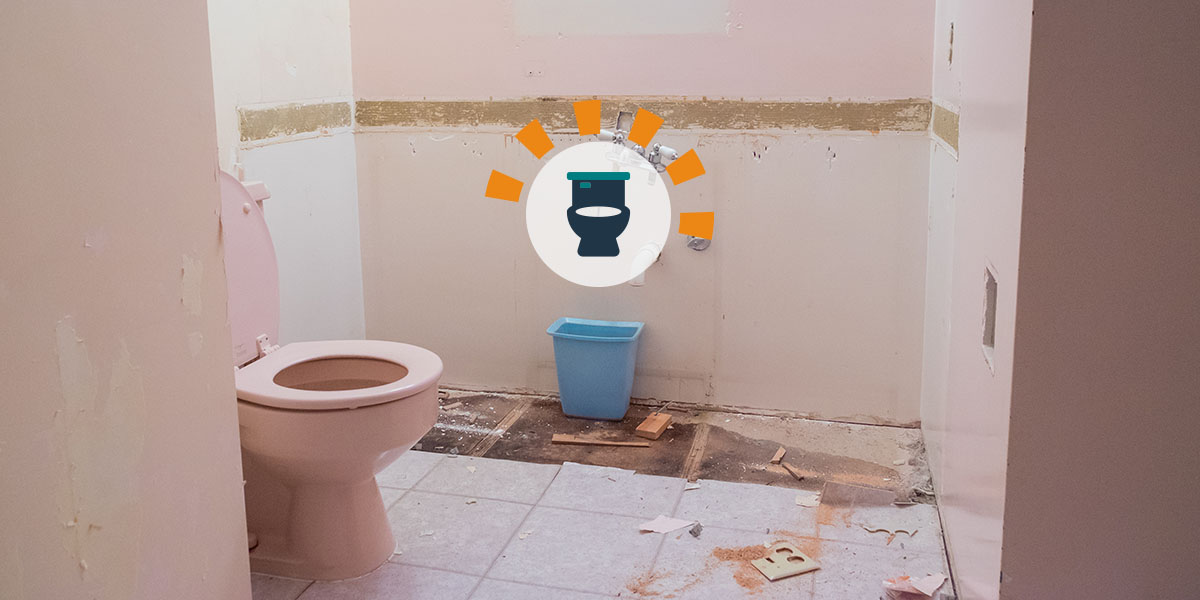
A DIY Guide to Bathroom Sabotage
Outdated tile getting you down? Want to trade in your tub for a sleek open shower? Before you can get the bathroom you want, you need to get rid of the one you have. If you're hiring a pro to handle the remodel, making your bathroom demolition a DIY chore is a great way to save some money on your project budget. It's strenuous work, but it doesn't have any special skills. Most homeowners can accomplish it using uncomplicated tools you probably already own.
Footstep ane: Prep the Bathroom
While bath demolition is a project that's well within the ability of any DIYer, it's a large undertaking. To set yourself upwards for success in the long-run, you'll want to cheque off a few prep items before you get to tearing things out. From the tools you need to shutting off utilities, we've got you covered.
Get together Your Tools
While there are a few items that you may demand to rent from your local Home Depot or Lowe's, most bathroom demolition tools, supplies and safe gear can be found in a standard tool kit.
| /////Tools | /////Supplies & Safety Gear |
|---|---|
| Pliers | Rags |
| Chisel | Saucepan |
| Jig Saw | WD-40 |
| Pry Bar | Duct Tape |
| Hammer | Confront Mask |
| Shop-Vac | Work Gloves |
| Utility Knife | Sturdy Boots |
| Screwdriver | Plastic Sheets |
| Reciprocating Saw | Safety Goggles |
| Adjustable Wrench | Long Pants and Sleeves |
Clear Out the Little Stuff
Completely clean out your vanity, linen cupboard, shower, and shelves or other storage areas before you start your bathroom demo. This is a good opportunity to practise some low-cal bathroom organisation, so throw out what you no longer employ and donate anything in practiced condition. Move whatever y'all're keeping to another room.

Remove Annihilation on the Walls
Next, take down your mirror to forbid harm while the hammers are swinging. If at that place are any shelves or cabinets to remove, only you plan to reuse them in your new blueprint, tear them off carefully and store them somewhere out of the way.
Shut Off Utilities
It's almost time to kickoff the real work of gutting your bathroom. Just outset let's make the room safe to work in. Close off ability to the bath by finding the right switch in your breaker box and flipping it to the 'off' position. Your billow box should take a excursion map showing which switch controls the bath, only if not, yous'll have to use good old trial-and-mistake. Depending on how your plumbing is prepare, there are a couple dissimilar ways to shut off the water supply. If yous have a manifold supply organisation:
Keep in Mind
If you can't turn the primal, don't force information technology. Too much strength tin break the valve and flood your bathroom. Instead, turn off water to your whole firm at the main water line.
If you have copper piping: If yous tin't access the valves for your bathroom fixtures, are unable to find the bathroom line on your manifold system, or have any other bug, turn the principal h2o supply valve to the 'off' position to close off water to your entire house.
Drain Water from Faucets and Toilet
To prevent a small-calibration inundation while you lot're working, drain any water that's left in your pipes after shutting off the water supply. Turn on all faucets in the bathroom until h2o stops running. Flush the toilet to drain the tank and bowl. Apply a small loving cup or sponge to go rid of any water left behind. You can also use a wet/dry vac for water left afterward y'all flush.
Rent a Dumpster
Before you break out the tools, rent a residential dumpster to clean up as you work. Betwixt your sink, vanity, tub, toilet, tile and backing, gutting a bathroom will exit you with way more than mess than you can set at the adjourn. And even if you do, your trash service won't take information technology. If you're not upward for making several trips to the dump yourself, yous'll demand a coil off container to avert becoming that house with a toilet pulling double duty as a lawn ornamentation.
Check Dumpster Availability Near Y'all

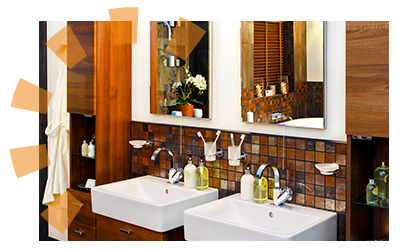
Footstep 2: Tear Out Sink and Vanity
Time to start the real demo work. The merely tools yous'll demand for this step are a saucepan, an adaptable wrench and a utility knife. However, full-sized vanities tin can be very heavy. So information technology might not be a bad idea to have a friend on-hand to help. Get a more detailed walk-through of this stride in our DIY vanity removal guide
How to Demolish a Bath Vanity:
Step 3: Remove the Toilet
Tearing out a toilet is slightly more involved than removing your vanity, but information technology's still a straightforward task for a DIY bathroom demolition. You'll need an adjustable wrench and a utility pocketknife. If your toilet has been in place for a long time, yous may too need some WD-40 and a socket wrench. Get a more detailed walk-through of this step in our 1-stop guide to removing a toilet
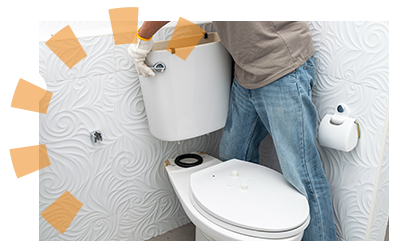
How to Remove a Toilet:
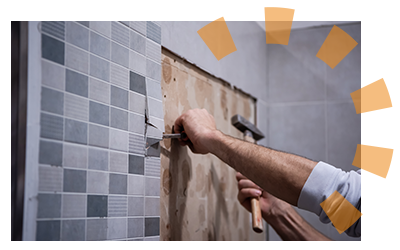
Stride 4: Have Down the Tile
This is the most strenuous chore in whatever bath demo, but luckily it's non complicated. This step will probably take a full day, and you should never rush the piece of work. Take breaks whenever you demand so you tin stay focused — and safe. Before yous start, prep the room by duct-taping plastic sheeting over all vents, registers and the door. Go a more detailed walk-through of this stride in our how-to guide to DIY tile removal
Safety Tip
If your home was congenital before 1978, test your bathroom walls for lead before starting tile sabotage. If pb is nowadays, hire a pro to avert exposing your family to extremely harmful dust.
How to Demo Bath Tile:
Keep in Heed
Take frequent trips to the dumpster while y'all piece of work so yous don't gamble tripping on loose tile. Use a Shop-Vac to suck upward excess dust to avoid a slipping hazard.
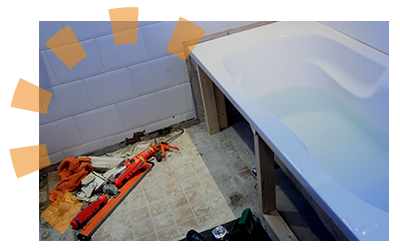
Stride five: Tear Out the Bathtub or Shower
Your DIY bath sabotage is almost complete. All that remains is to get rid of the bathtub or shower. The skilful news is that, while this step may require assistance for the heavy lifting, it'southward fairly simple. And then get your toolkit ready — you'll need a lot of them to complete this step. Become more than detailed walk-throughs in our guides to DIY bathtub removal and shower removal
Grab your screw driver, utility knife, drywall saw, jig saw and pry bars and go to piece of work.How to Remove a Bathtub:
Gather your wrench, pliers, screwdrivers, pry bars, utility knife, reciprocating or jig saw and a hammer and become ready to make a mess.How to Remove a Shower:
What Comes After a Bath Demolition?
Now that the hard piece of work of demolishing your bathroom is done, it'due south time to have a really expert stretch — and probably a nap. When you wake up, don't forget to plough the water back on! Need some help planning your renovation? Cheque out our advice for fugitive common mistakes.
What Practice You Think?
What was the hardest part of your demolition? We're listening. Head over to Twitter or Facebook, and use #dumpstersblog to bring together the conversation.
Need a Dumpster for Your Next Project?

How To Remove A Bathtub Video,
Source: https://www.dumpsters.com/blog/how-to-demo-a-bathroom
Posted by: mckeehanhunty1966.blogspot.com
0 Response to "How To Remove A Bathtub Video"
Post a Comment